Photold
How to Restore Old Photos: A Complete Guide
By the Photold team · · 6 min read
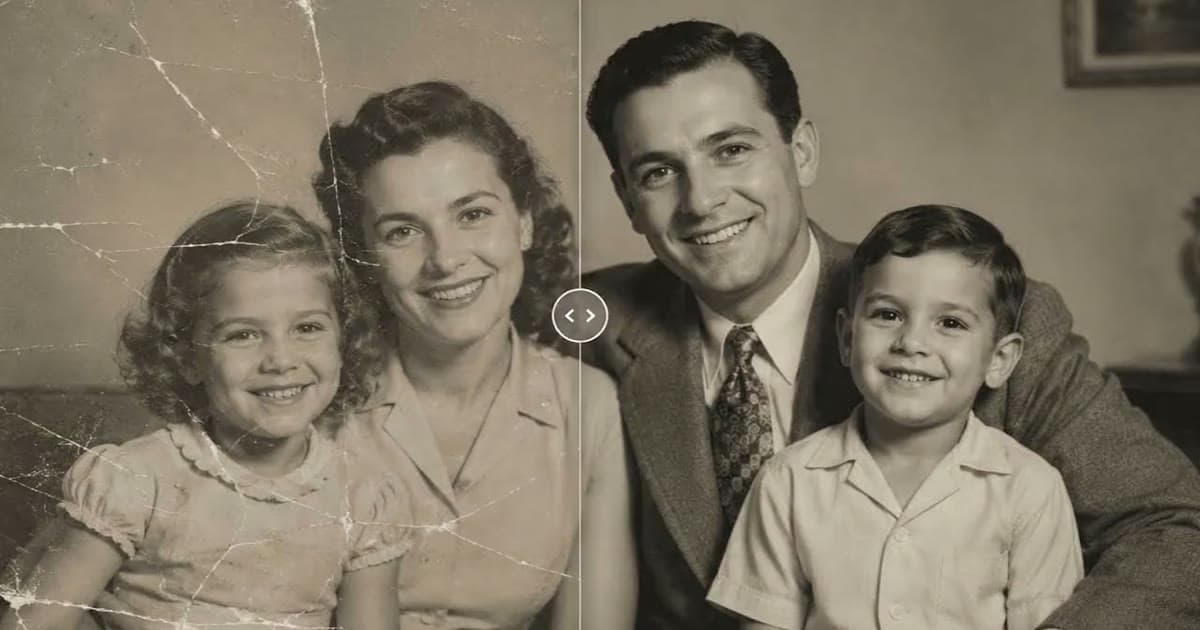
Restoring an old photo comes down to three jobs: getting a good digital copy, repairing the damage on that copy, and keeping the result safe. You never have to touch the original print, and that is the most important rule in this guide. Everything below happens on a scan, so a bad attempt costs you nothing.
The method you pick depends on the photo. A few scratches on a clear portrait take seconds with an AI tool. A photo with half a face missing may need a professional retoucher, and even then the missing part will be an informed guess. Here is how to tell which is which, and how to do each step well.
Step 1: Make a good scan
The scan is the raw material for everything that follows, so a few minutes here save a lot of frustration later. Dust the print with an air blower rather than a brush or canned air, since the Library of Congress warns that even soft brushes can scratch a photograph. Handle it by the edges.
A flatbed scanner gives the most faithful copy. The Library of Congress recommends 300 dpi as a starting point for ordinary prints, and the specialists it quotes say that scanning a print far above that mostly records defects rather than new detail. Go higher only for small prints you plan to enlarge.
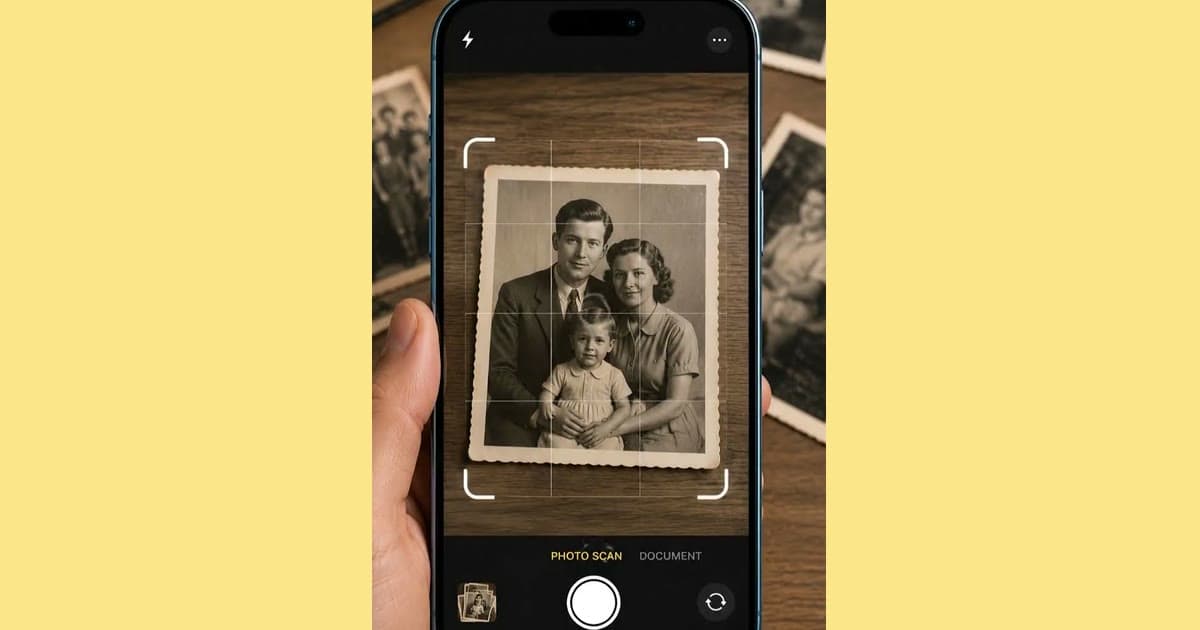
No scanner? A recent phone camera is fine for most family photos if you avoid glare and keep the phone parallel to the print. Our guide to scanning old photos with your phone covers the setup.
Step 2: Work out what is actually wrong
Different damage calls for different fixes, and naming it first keeps you from over-processing a photo that only needed one thing.
| What you see | What it is | Where to start |
|---|---|---|
| Fine white lines and specks | Surface scratches and dust | Remove scratches |
| Sharp lines, missing corners | Creases, folds and tears | Fix tears and creases |
| Pale or yellow overall | Fading and color shift | Fix fading and yellowing |
| Tide marks, blotches, stuck areas | Water damage | Rescue water damage |
| Soft faces, no fine detail | Blur or a low-resolution source | Fix blurry photos |
| Black and white you want in color | Not damage: a separate step | Colorize |
Step 3: Choose a repair method
There are three realistic routes, and they differ more in effort and control than in anything else.
AI restoration
An AI tool such as Photold repairs the whole photo from a single image: scratches, dust, creases, tears, tape marks and stains, plus gentle sharpening. It suits most family photos because it takes seconds and needs no skill. Its weakness is that it can invent detail where the damage hides what was there, which is why the check in step 4 matters.
Manual retouching
Image editors let you repair a photo by hand with clone and healing tools, one area at a time. You decide every pixel, so nothing changes without your say-so. The cost is time and a learning curve. We compare the routes in detail in AI, Photoshop or a professional.
A professional restorer
For a one-of-a-kind photo with serious damage, such as a large missing area across a face, a skilled retoucher can work with you and with other photos of the same person. It costs the most and takes the longest, and it is the right call when a photo really matters and automatic results are not good enough.
Have a scan ready? See what automatic restoration does with it.Try Photold
Step 4: Check the result against the original
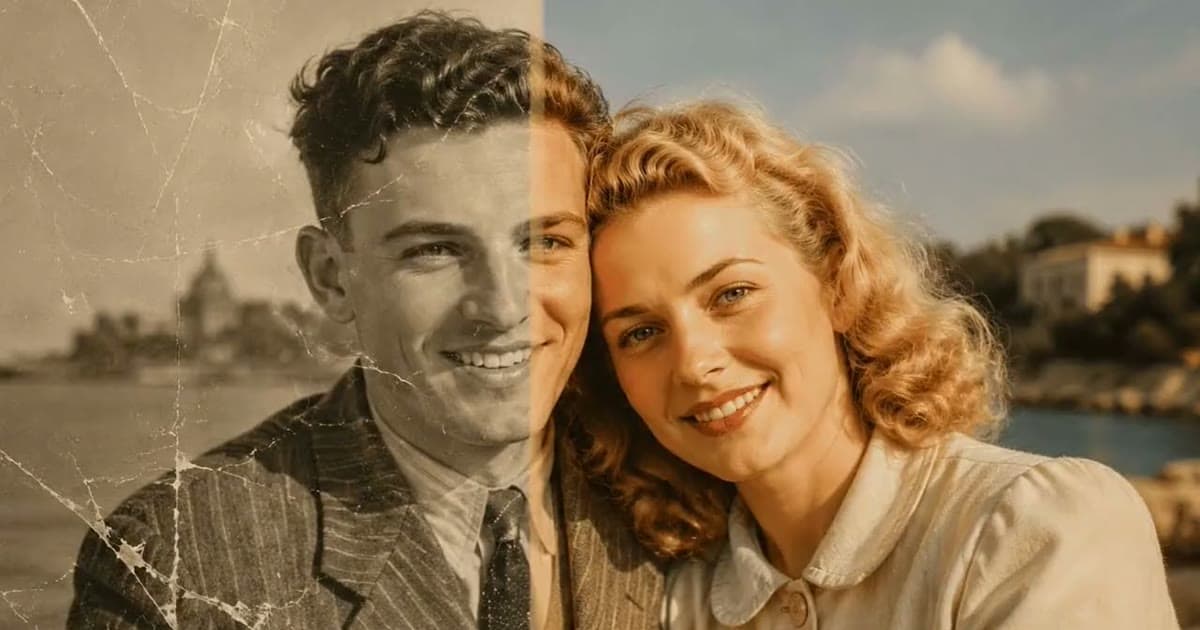
Put the original scan and the restored version side by side and look at the things that make a person recognisable: the shape of the eyes, the line of the nose and mouth, moles and scars, the teeth. Anything new or missing there is a problem, however clean the rest looks.
- Faces: do they still look like the people you know? If you are unsure, ask a relative who knew them.
- Skin tone: did it get lighter or smoother than it should be?
- Text and small objects: signs, jewelry and buttons are often where AI quietly makes things up.
- The edges: a repair should not crop or straighten the original framing unless you asked for it.
If a result changes a face, try a gentler option or a better scan rather than accepting it. We explain why this happens in does AI restoration change faces?
Step 5: Colorize or enhance if you want to
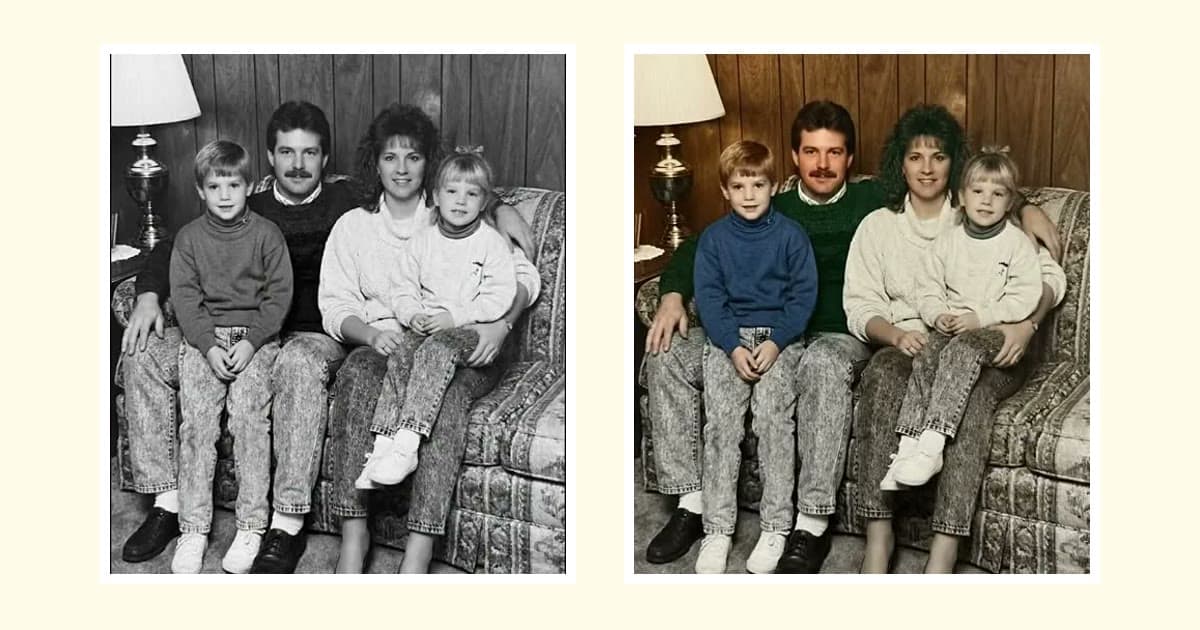
Do these as separate steps after the repair, and save each version. Colorizing is an interpretation rather than a recovery of the true colors, as this article on accuracy explains, so it is worth keeping the black-and-white version too. If you plan to print large, enhance the photo for printing last.
Step 6: Save and back up every version
Keep three files for each important photo: the untouched scan, the repair, and any colorized or enhanced version. Give them descriptive names. The Library of Congress suggests at least two copies, stored as far apart as practical, and checking them at least once a year.
Then put the original print somewhere safe. A repaired file does not replace it, and a cool, dry, stable place is what keeps it from getting worse. Our guide to preserving old family photos has the details.
Common mistakes to avoid
- Repairing the print itself. Tape, glue and home cleaning can do permanent damage. Repair the scan instead.
- Stacking filters. Running a photo through several enhancers usually adds a waxy, artificial look.
- Starting from a screenshot or a small WhatsApp copy. Compressed copies have lost detail you cannot get back. Scan the print if you still have it.
- Keeping only the final version. Tools improve, and a clean original scan lets you try again in a few years.
Frequently asked questions
Can I restore old photos without damaging the original?
Yes. All digital restoration works on a scan or a photo of the print, so the original is never touched. Just handle the print by its edges while you scan it.
What resolution should I scan old photos at?
The Library of Congress recommends 300 dpi as a starting point for ordinary prints. Use a higher setting for very small prints you want to enlarge, or for film negatives and slides.
How long does it take to restore an old photo?
With an AI tool it usually takes seconds per photo. Manual retouching can take from minutes to several hours depending on the damage, and a professional service usually takes longer because of the back and forth.
Can a photo with missing pieces be restored?
Often, but the missing area is reconstructed, not recovered. Backgrounds usually work well. A missing part of a face is a best guess, so compare it with other photos of that person.
Is restoring old photos free?
Some tools offer limited free use, and manual editing can be free if you use free software. See our guide to free photo restoration for what you actually get.