 Photold
How to Colorize Black and White Photos, Step by Step
By the Photold team · · 6 min read
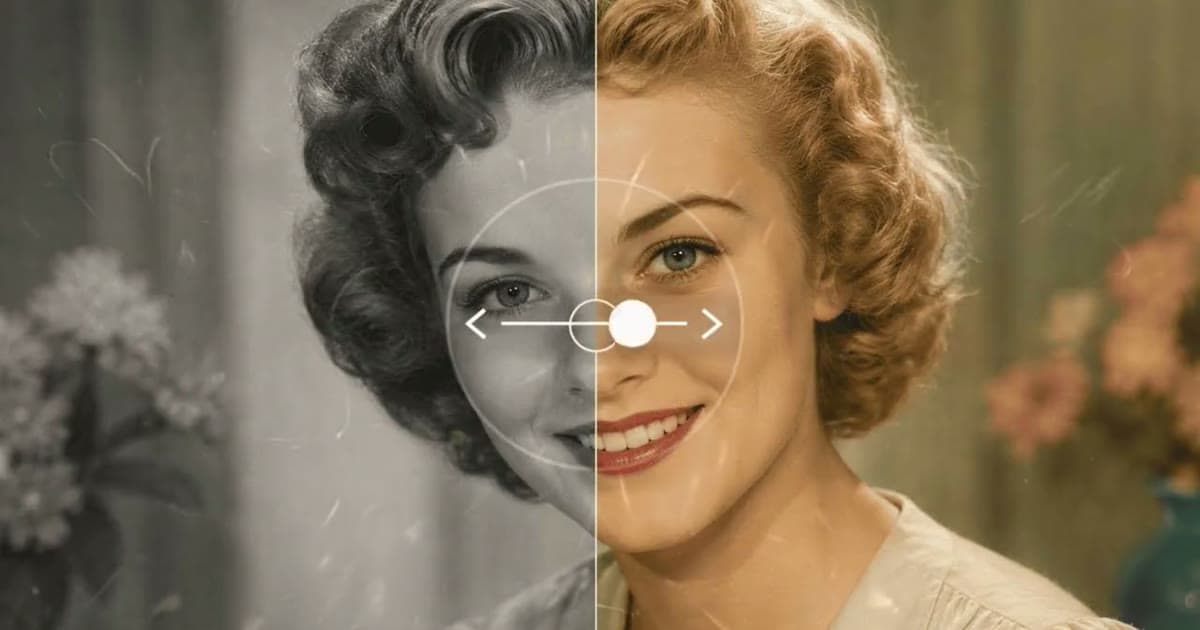
To colorize a black and white photo, make a clean scan, repair the damage, run the repaired file through a colorizing tool, then check the result against what your family remembers. An AI tool handles the color step in seconds. Doing it by hand in an image editor takes much longer, but you choose every color.
The order matters more than the tool. Color laid over a scratch makes the scratch look like part of the scene, so repair comes first. And because the colors you get are plausible rather than recorded, the check at the end is not optional.
What makes a good photo to colorize
A colorizing tool works from the tones and shapes it can see, so the better the input, the less it has to guess. Check three things before you start.
- Contrast. A full range from deep shadow to clean highlight gives the tool more to read. A washed-out print tends to come back flat and muddy, so fix the fading first.
- Sharpness. Color has to stop at the edge of a collar, a hairline or a hand. When those edges are soft, color can drift across them.
- A clean scan. No glare, no tilt, the whole print in frame. The Library of Congress suggests 300 dpi as a starting point for prints on a scanner, and our guide to scanning old photos with your phone covers the route without one.
If you still have the print, do not start from a screenshot or a copy sent through a chat app. Those copies have lost detail you cannot get back.
How to colorize a photo, step by step
- Save an untouched scan. This is your master file. Everything else is a copy of it.
- Repair a copy. Deal with scratches, dust, creases and stains now, using a restoration tool or manual retouching. In Photold, Restore keeps the palette, so black and white stays black and white and the file is ready for the next step.
- Write down what you know. Before you see any result, ask relatives what they remember: the color of a uniform, a car, a wedding dress, someone's hair. A colored picture can sway memory, so ask first.
- Colorize the repaired file. Run it once and look at the result. Photold's Colorize aims for natural, slightly muted colors that are plausible for the era.
- Judge it side by side. Put the black-and-white file next to the result and use the checks below.
- Save it as a new file, with "colorized" in the name, next to the black-and-white one.
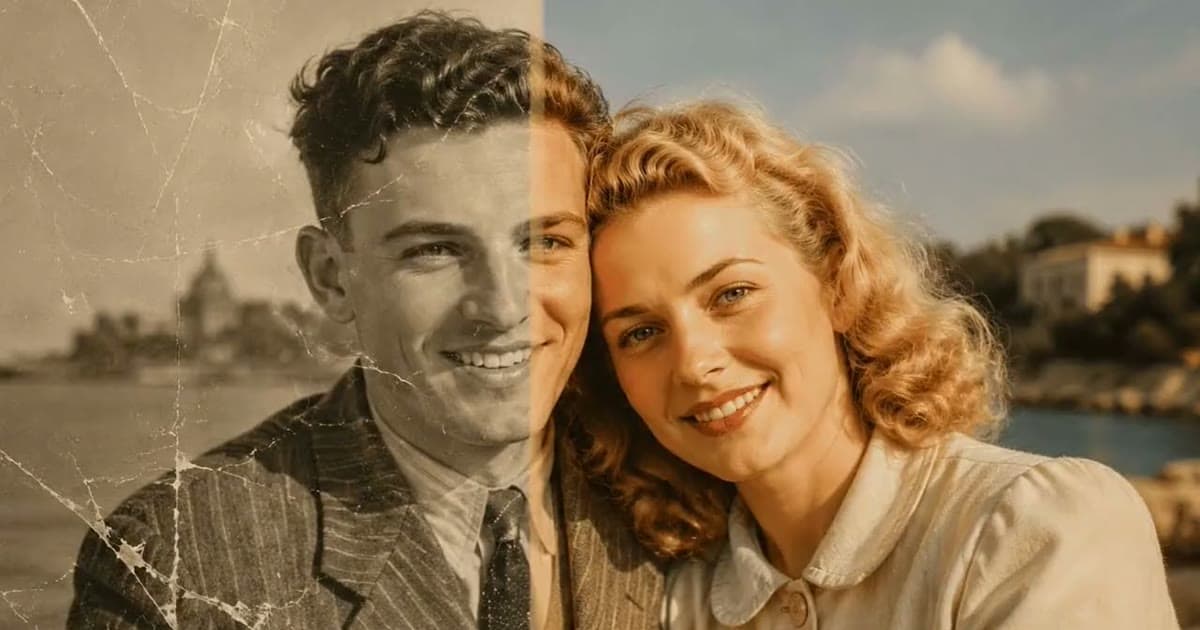
Try Colorize on a repaired scan, then hold the result up against what your family remembers.Try Photold
How to judge the colors
Do not stop at whether the result looks nice. A colorized photo can look lovely and still be wrong. Go through it piece by piece.
| Check | A good sign | A warning sign |
|---|---|---|
| Skin tones | Believable for that person, and varied: cheeks, hands and forehead differ a little | Paler than relatives remember, or one flat tone on every face |
| Whites | Shirts, dresses and the whites of the eyes are neutral or slightly warm | A blue, pink or yellow tint on everything white |
| Things the family remembers | The uniform, the car or the dress match what someone recalls | A green car your uncle insists was red |
| Edges | Color stops cleanly at collars, hairlines and hands | Skin color creeping onto a shirt, or sky into hair |
| Hair and eyes | They match other photos or what someone remembers | Blue eyes on someone everyone knew had brown ones |
Skin needs the most care. Early film recorded darker skin and reds darker than they were, so brightness alone is a poor guide to someone's complexion. Photold's Colorize infers complexion from features, hair and the tonal range rather than brightness, and does not lighten skin. A relative's memory or a later color photo is still the better check.
Why you should keep the black-and-white file too
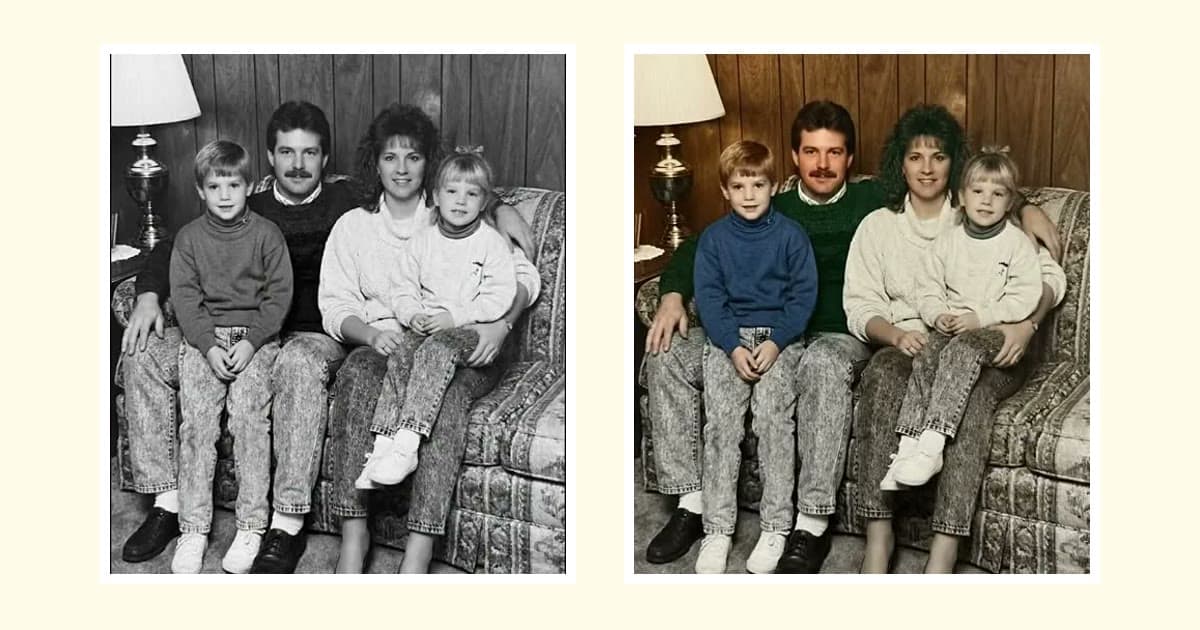
The black-and-white file is the closer record, and the color version is an interpretation of it. Keep both, named so nobody confuses them. If a cousin later finds out what color the car was, or a better tool comes along, you can start again from the repaired file instead of working on top of old guesses.
The Library of Congress also advises keeping the highest-quality version of a digital photo. Here that means the full-size black-and-white scan, not a resized copy. And when you share the color version, say that it is colorized.
How to colorize by hand in an image editor
Manual colorizing is slow, but it is the right choice when you know exactly what color something was. The basic method is the same in any editor that has layers, though the names can differ.
- Open the repaired scan and make sure the file is in a color mode (RGB), not grayscale.
- Add one new layer per area, such as skin, hair and jacket, and set its blend mode to Color so the photo's tones show through.
- Paint the color on, then lower the layer's opacity until it looks natural.
- Vary the skin. A slightly warmer tone on the cheeks, nose and knuckles looks more real than one flat color.
You can also combine the two methods. Let an automatic tool do the whole photo, then repaint only the one thing it got wrong, such as a uniform, on a Color layer.
Frequently asked questions
Should I repair or colorize a photo first?
Repair first. Color laid over a scratch or stain makes the flaw look like part of the scene, and it is harder to clean up afterwards.
Can I colorize a black and white photo for free?
On the Photold website you can try one image feature once for free without an account, and Colorize is one of them. Beyond that, the AI tools are part of Photold Pro. Colorizing by hand costs only your time if you already have an image editor.
Why did the skin come out wrong in my colorized photo?
A gray tone does not say which color made it, and early film recorded darker skin and reds darker than they were. Try a cleaner scan, check against a later color photo of the person, and correct the area by hand if you need to.
Does colorizing change my black and white photo?
No. It works on a digital copy and creates a new file, so the print and your black-and-white scan stay as they are.