Photold
How to Scan Old Photos With Your Phone
By the Photold team · · 6 min read
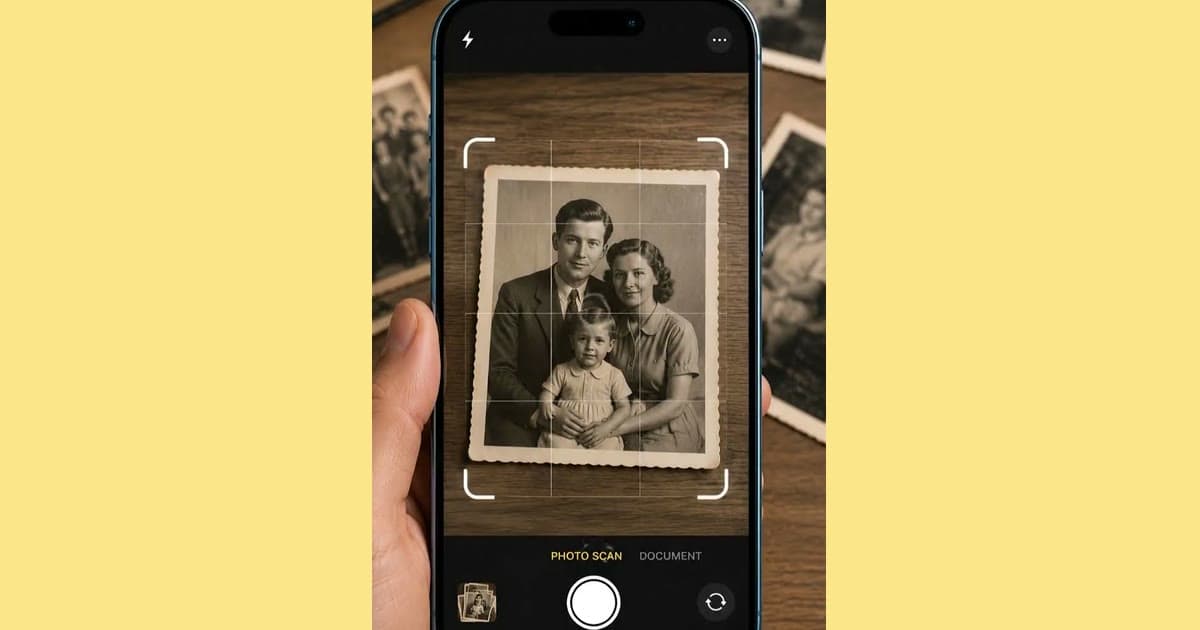
To scan an old photo with your phone, lay it flat on a dark, non-reflective surface in soft daylight, hold the phone parallel to it, fill the frame and take two or three shots. Keep the sharpest one. A recent phone is fine for most family prints, and the setup takes a few minutes.
The camera is rarely the weak link. The Library of Congress recommends 300 dpi as a starting point for prints. On a 10 × 15 cm / 4 × 6 in print, that works out to 1,200 × 1,800 pixels, which a recent phone passes easily when the print fills the frame. What spoils phone scans is glare, tilt and shake, and you can deal with all three before you press the button.
Your setup checklist
- Soft daylight. Work in a bright room near a window, out of direct sun. An overcast day is ideal. Keep the flash off and turn off ceiling lights, which add glare and a color tint.
- No glare. Keep the window to one side of the print, never behind you. Look at the print from where the phone will be. If you see a shine, move the print. On a glossy photo, dark clothes help, because a light shirt can reflect in it.
- A dark, non-reflective surface. Black card or a dark cloth. It stops light bouncing up and gives you clean edges to crop to.
- The photo flat. Hold down the edges of a curled print with strips of clean card. Do not use tape, and do not force a brittle print flat. Photograph it as it is.
- A clean lens. Wipe it with a soft cloth. A smudged phone lens gives a hazy, low-contrast picture, and it takes a second to fix.
- The phone parallel to the print. Rest it across two stacks of books, or use a small tripod. If the print looks like a trapezoid on screen, the phone is tilted.
- Clean hands and a clean print. Hold the print by the edges, with clean hands or clean nitrile gloves. The Library of Congress advises an air bulb for loose dust, not canned air, as even soft brushes can scratch.
How to scan a print, step by step
- Blow off any loose dust and place the print on the dark surface.
- Hold or rest the phone directly above it, with a thin margin of background on all four sides.
- If the phone's shadow falls on the print, move back a little and zoom in slightly.
- Wait for the camera to focus, hold still and take two or three shots.
- Zoom in on the faces on screen. If they are soft, shoot again now, while everything is set up.
- Turn the print over and photograph anything written on the back.
- Crop to the edge of the print in your gallery, and keep the sharpest shot.
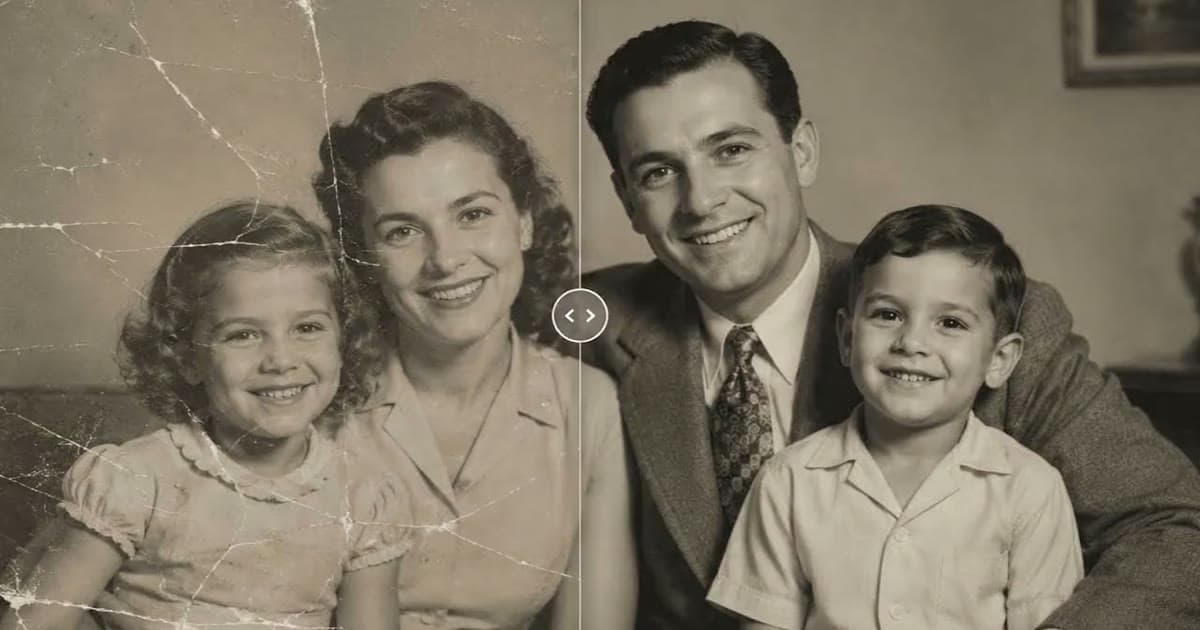
Once you have a clean scan, see what Photold can repair on it.Try Photold
Which app to scan with
You have three realistic options, and the setup above matters for all of them.
| Option | What it is | Keep in mind |
|---|---|---|
| Your phone's camera | The phone's own camera and gallery can capture and crop | Nothing to install, but glare and tilt are entirely up to you |
| PhotoScan by Google Photos | A free app. Its App Store listing describes glare-free scans from a step-by-step capture flow, with automatic cropping | The last update on that listing is November 2022 |
| Scan Photo in Photold | A camera flow for prints in the Photold mobile app, not on the web | Useful if you plan to repair the photo in the same app |
If you go on to repair your scans, Photold is free to download, and its AI tools are part of Photold Pro.
Phone or flatbed scanner
| What matters | Phone | Flatbed scanner |
|---|---|---|
| Getting started | You already have it | You need to buy or borrow one |
| Speed | Quick once the setup is in place | Slower, a print or a few at a time |
| Glare | The main problem, worst on glossy prints | Not an issue, as the lid keeps room light out |
| Shape and tilt | Depends on your hands and your setup | The print lies flat on the glass |
| Fragile or stuck prints | Nothing touches the print | The print has to lie on the glass under a lid |
| Detail | Enough for most prints you view on screen or print at about their own size | The most faithful copy, with room to go above 300 dpi |
When a flatbed is worth it
For a shoebox of snapshots you want to see and share, a phone is enough. A flatbed earns its place in these cases.
- Small prints you want to enlarge. This is the one case where going above 300 dpi pays off. For ordinary prints, the Library of Congress says higher settings mostly show defects.
- Glossy prints where the glare will not go away. The closed lid solves it.
- A photo you cannot replace or want to print large. You want the most faithful copy to work from, especially if you plan on restoring the old photo.
- A whole collection. Results stay consistent from print to print. Our plan for digitizing family photo albums helps you decide what deserves the extra time.
If you buy one, do not be swayed by a big number on the box. The Library of Congress notes that many scanners claim more than their true optical resolution.
Film is a separate matter, because negatives need light from behind. See how to scan film negatives with your phone.
Frequently asked questions
Is a phone good enough to scan old photos?
For most family prints, yes, if the light is soft and the phone is parallel to the print. A flatbed is better for small prints you want to enlarge and for photos you cannot replace.
What resolution should I use when scanning with a phone?
A phone has no dpi setting, so use pixels as a guide. The Library of Congress starting point of 300 dpi means 1,200 × 1,800 pixels on a 10 × 15 cm / 4 × 6 in print, so fill the frame and a recent phone will clear it.
How do I stop glare on glossy photos?
Put the light to one side, turn off the flash and ceiling lights, and wear something dark. If a shine remains, move the print until it goes, or use a flatbed for that photo.
Can I use Scan Photo on the Photold website?
No. Scan Photo and Negative Scan are camera flows in the mobile app. On the web you can work from an image you have already captured.