Photold
How to Digitize Family Photos: A Plan for Whole Albums and Boxes
By the Photold team · · 6 min read
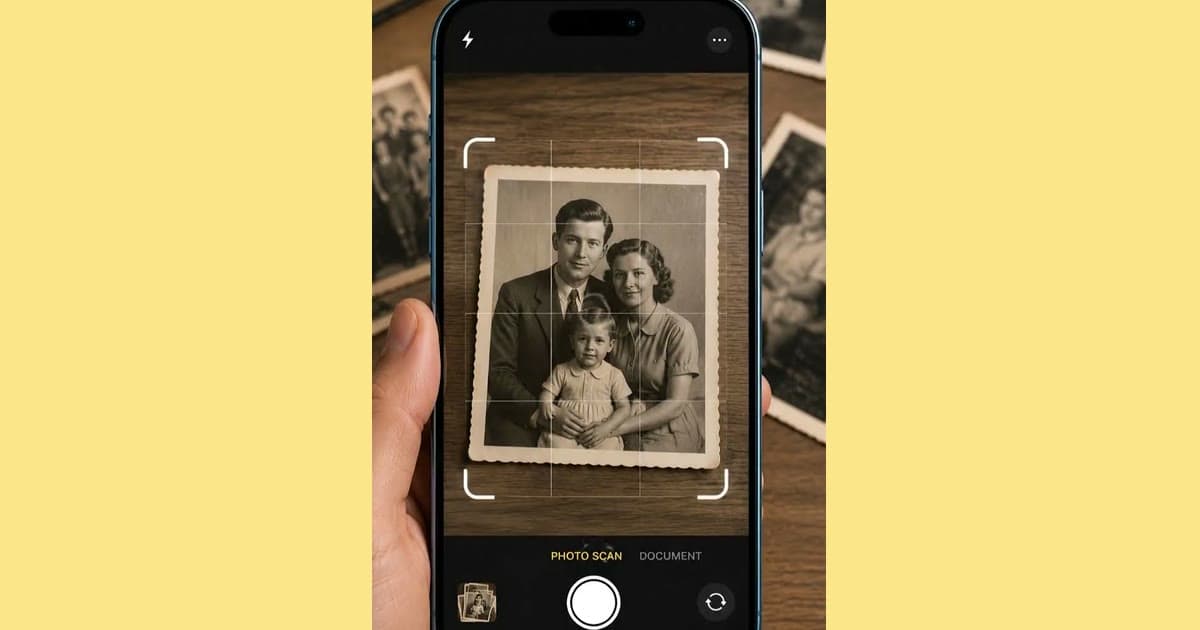
To digitize a family photo collection, sort it first, scan the best photos in short batches, name each file with the year, event and people, then keep at least two copies in separate places. That is the whole plan. The rest of this guide is how to stop it from stalling.
Start with the people, not the scanner. Knowing who is in a photo is harder to replace than the print, and the relatives who know will not always be there to ask. If you do only one thing this month, sit down with them and an album.
Step 1: Sort before you scan
Scanning everything in order is how these projects stall. Give yourself an hour with the boxes and make three piles. Throw nothing away yet.
| Pile | What goes in it | What happens next |
|---|---|---|
| Scan first | Faces you care about, one-of-a-kind photos, anything damaged or with writing on the back | Your first batches |
| Scan later | Good photos with a similar one already in the first pile | When the first pile is done |
| Probably skip | Duplicates, blurry scenery, photos nobody can place and nobody misses | Ask the family before you discard anything |
Step 2: Set a batch routine
Work in batches small enough to finish in one evening, so that each session ends with files named and backed up.
- Take one envelope, box or album, and nothing else.
- Set up the same spot every time. Use our phone setup for prints, or a flatbed at 300 dpi, the Library of Congress starting point. Photold also has Scan Photo, a camera flow in its mobile app.
- Handle prints by the edges, with clean hands or clean nitrile gloves, and shift loose dust with an air bulb.
- Capture the front of each photo, then the back if anything is written there.
- Name the files before you stop for the night. You will not come back to do it later.
- Copy the batch to your backup, put the prints back in the same order, and tick it off a simple list.
Magnetic albums: leave the photos where they are
Albums with sticky pages under a plastic sheet are on the avoid list at both the Library of Congress and the National Archives, but prying a photo off one can tear it. Photograph the whole page first, since the order and the captions are information too. Then shoot each photo in place. If the plastic lifts easily, lift it. If not, shoot through it with the light to one side. If a photo slides free without force, move it to a photo-safe sleeve. If it will not, leave it, and ask a conservator about the ones that really matter.
Treat the back as part of the photo
Handwriting, a studio stamp or a printed date can settle a question years later. Photograph it and give it the same name as the front, plus "back". Your grandmother's handwriting is worth keeping for its own sake.
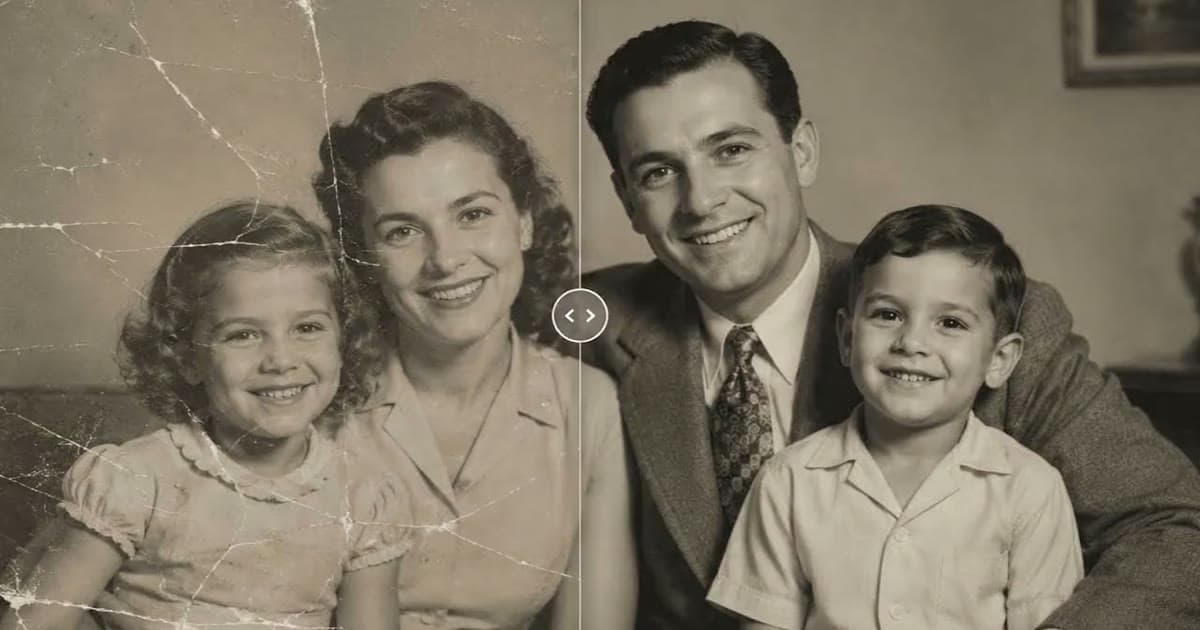
If sorting turns up a damaged favorite, see what Photold can repair from a scan of it.Try Photold
Step 3: Name files and build folders
Use one pattern: year, event, names, number. Year first means files sort by date on any computer. Use hyphens and underscores rather than spaces. The Library of Congress also recommends descriptive file names.
| What you know | File name |
|---|---|
| The exact date | 1958-06-14_wedding_rosa-tom_01.jpg |
| Only the year | 1958_beach-holiday_rosa-anna_02.jpg |
| Roughly the decade | 1950s_garden_anna-unknown-man_01.jpg |
| The back of a print | 1958_beach-holiday_rosa-anna_02_back.jpg |
| A repaired copy | 1958_beach-holiday_rosa-anna_02_restored.jpg |
Keep the folders simple, and keep untouched scans apart from anything you have edited.
- Family Photos / Scans / 1950s / 1958 Rosa and Tom wedding: untouched scans, at full quality.
- Family Photos / Restored: copies you have colorized or repaired with a restoration tool.
- Family Photos / Shared: smaller copies for sending around.
- Family Photos / Notes: who is who, and any recordings.
Step 4: Get older relatives to name the people
- Sit down with one album, a tablet of scans, or both. Go slowly.
- Record it, with their permission. A voice memo catches stories you would not think to ask for, and it keeps their voice as well.
- Ask specific questions. Who is this, left to right? Where was it? Who took it? What color was the car?
- For relatives far away, send a few photos at a time by message and ask the same questions.
- Keep the answers in your Notes folder. Do not put sticky notes on prints, which the Library of Congress warns against.
Step 5: Back up using the Library of Congress rules
The Library of Congress rules are short, and they are easy to apply at home.
| The rule | What it means at home |
|---|---|
| At least two copies | Your computer plus one more is the minimum |
| On separate media | A computer and an external drive, not two folders on one disk |
| As physically far apart as practical | A drive kept at a relative's home, or a copy in cloud storage |
| Check at least once a year | Open some files from each copy, and set a reminder |
| New copies every five years, or when necessary | Move to new drives before the old ones give out |
| Keep the highest-quality version | Do not let a small shared copy become your only one |
Step 6: Share with the family
Sharing is also how the project grows. Put the smaller copies in a shared folder or album and ask for corrections. A cousin may have the other half of the story, or a box of their own. One photo a week in a family chat is an easy way to collect names. Before you upload photos of other people to any service, ask their permission and read what happens to the files.
When the scanning is done, the prints still matter. A scan is a copy, so keep the prints cool, dry and in photo-safe boxes.
Frequently asked questions
Where should I start with thousands of old photos?
Sort first and pull out the photos of people you care about, plus anything damaged or with writing on the back. Scan those in small batches and leave the rest for later.
Should I remove photos from old magnetic albums?
Not by force, because a stuck print can tear. Photograph it in place on the page. Move only what slides free, and ask a conservator about important photos that will not.
How should I name scanned family photos?
Use the year, event, names and a number, such as 1958_beach-holiday_rosa-anna_02.jpg. The year first keeps files in date order on any computer.
Can I throw away the prints once they are scanned?
Keep them. A scan is insurance, not a replacement. A print can be scanned again with better equipment, and it may hold things a quick scan missed.
How many backups of family photos do I need?
The Library of Congress recommends at least two copies, on separate media, as far apart as practical. Check them at least once a year and make new copies every five years or when necessary.