Photold
How to Fix Torn and Creased Photos
By the Photold team · · 6 min read
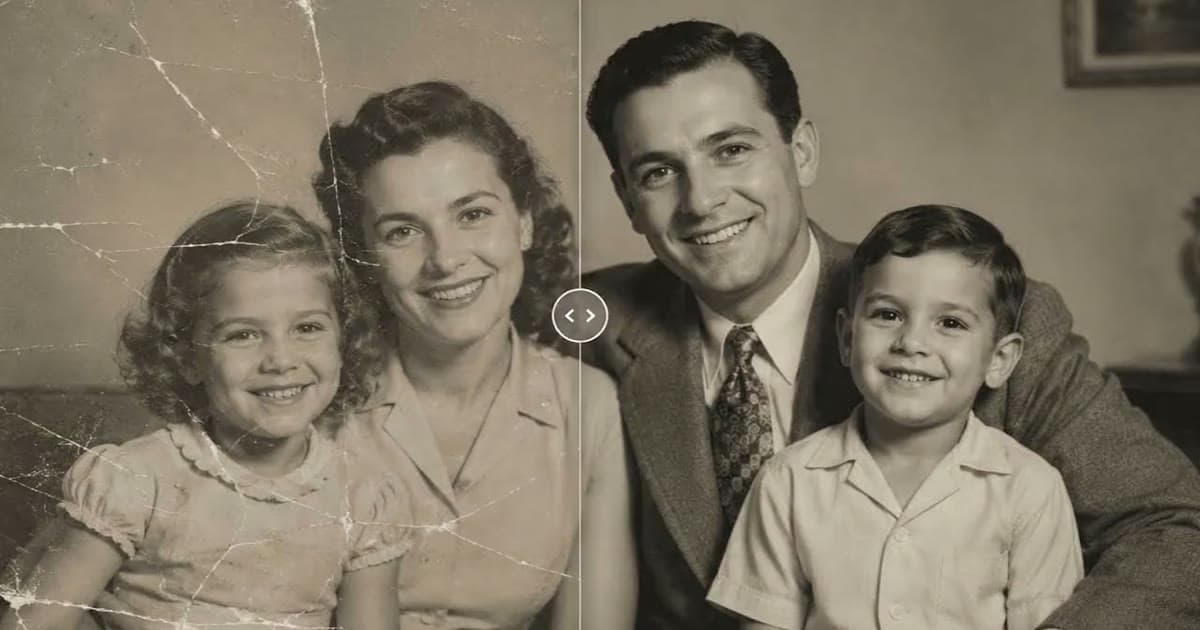
To fix a torn or creased photo, leave the print as it is and repair a copy. Lay the pieces together on a scanner or a flat surface, scan them, and run the scan through a repair tool or fix it by hand. Do not tape or glue the print. The Library of Congress says to keep self-adhesive tape and glue off photographs altogether.
How well the repair turns out depends on where the damage runs. A tear across a sky or a coat often rebuilds well. A tear across a face is a different matter: what you get there is a best guess, and it needs a careful check.
What to do with the torn print first
- No tape, no glue. The Library of Congress also lists sticky notes, paper clips and rubber bands among things to keep off photos.
- Put it in a sleeve. The US National Archives recommends polyester L-sleeves for brittle or torn items. Keep the loose pieces in the same sleeve so none go missing.
- Leave old tape where it is. Peeling it can lift the picture with it. Scan it as it is: tape marks are among the things a repair can work on. Ask a conservator if the print is valuable.
- Do not force a crease flat. Bending it back or pressing it hard can crack the surface further. A crease is usually easier to deal with on the scan.
- Handle it by the edges, with clean hands or clean nitrile gloves, without touching the image.
How to scan a torn photo with the pieces laid together
- Clean the scanner glass, and clear loose dust from the pieces with an air bulb.
- Place the largest piece face down on the glass.
- Add the other pieces, edge to edge and with no overlap, moving them by their edges.
- Run a preview, then nudge the pieces until the lines of the picture meet across the tear. Repeat until you are happy.
- Lay a clean sheet of plain paper over the backs, so the gaps show an even tone rather than the lid's shadow, and lower the lid gently so nothing slides.
- Scan at 300 dpi, which the Library of Congress recommends as a starting point for prints, or higher if the print is small and you plan to enlarge it.
- If the pieces will not line up, scan each one on its own and assemble them in an image editor, then repair the joins.
No scanner? Lay the pieces face up on a plain, dark surface in soft window light, and shoot from directly above with the phone parallel to the table. Our guide to scanning old photos with your phone goes through the setup.
For a crease, the problem is often light rather than alignment. The raised ridge catches light and shows as a bright line. A flatbed lid holds the print fairly flat without you pressing on it. With a phone, use soft light from the front, not low light from one side.
Once your torn photo is scanned, see how much of the damage Restore can close.Try Photold
What AI can rebuild well, and what it rebuilds badly
Anything under a tear or fold line is reconstructed, not recovered. The tool looks at what surrounds the gap and draws what probably belongs there. That works best where a wrong guess would not matter, and worst where a small change makes someone look like a stranger.
| Where the damage runs | What to expect | What to check |
|---|---|---|
| Sky, walls, plain backgrounds | Usually rebuilds well | Smeared patches and repeated texture |
| Clothing and furniture | Usually rebuilds well | Buttons, patterns and collars that changed |
| Hair | Mixed | A changed hairline, strands that look too neat |
| Hands, jewelry, text, medals | Often guessed | Odd fingers and made-up letters |
| A missing corner | Fine if it was background | It cannot know who or what stood there |
| A tear across a face | Rebuilds badly: a best guess | Eyes, nose and mouth, against another photo of that person |
Photold's Restore lists creases, fold lines, tears and tape marks among the damage it repairs, and it does not change faces, expressions or skin tone by design. Remove Scratches is the same physical repair without sharpening, if the photo is otherwise clear and you want to keep its grain. Results vary with the source, so always look at the join up close.
When a tear runs across a face
This is where to slow down. A smooth, clean face that looks slightly wrong is worse than a visible line on a face people recognize.
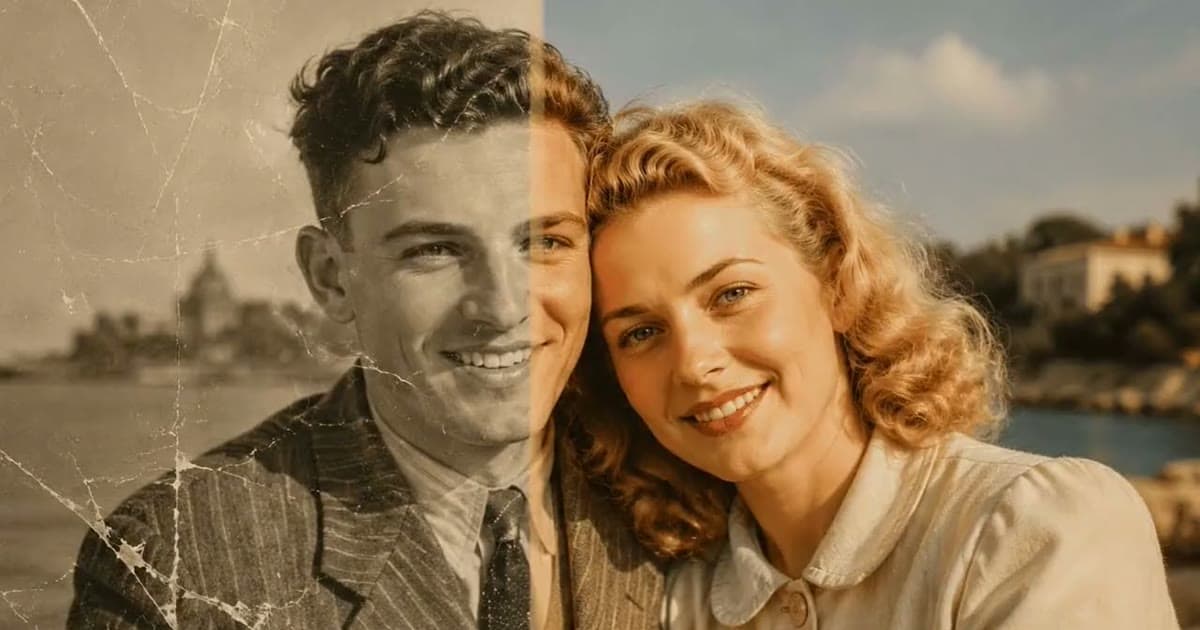
- Run the repair and compare it with the untouched scan at the same size.
- Find another photo of the same person, close in age if you can, and compare the shape of the eyes, nose and mouth.
- Ask someone who knew them. They are the best judge of a likeness. Our article on whether AI restoration changes faces explains what to look for.
- If the face looks wrong, go by hand or go to a person. Clone tools can close the join using what is left of the face, and a skilled retoucher can work from your other photos. AI, an image editor or a professional compares the routes.
- Or leave a fine line. A faint mark on a face that is still theirs is a good outcome.
Keep the torn print safe after scanning
A repaired file does not mend the print, so it still needs looking after. Return it to its polyester sleeve and put that in a lignin-free box that passed the Photographic Activity Test, in a cool, dry and stable place. Our guide to preserving old family photos has the details. If you want the print itself mended, that is a job for a conservator, not for anything in your kitchen drawer. And keep the untouched scan alongside the repair, since tools improve and you may want another try. For the full process from scan to backup, see how to restore old photos.
Frequently asked questions
Can I tape a torn photo back together?
No. The Library of Congress says to keep self-adhesive tape and glue off photographs. Keep the pieces together in a polyester sleeve, and repair a scan instead.
How do I scan a torn photo?
Lay the pieces face down on the scanner glass, edge to edge with no overlap, then preview and adjust until the lines meet. If they will not line up, scan each piece and join them in an image editor.
Can AI fix a tear across a face?
It can close the tear, but what it draws there is a best guess rather than a recovery. Compare it with another photo of the person, and ask someone who knew them.
How do you get a crease out of a photo?
On the print itself, you generally leave it, since pressing can crack the surface further. On a scan, a repair tool or a clone tool can remove the line, and creases are often easier than tears.