Photold
How to Enhance Old Photos for Printing, and How Big You Can Go
By the Photold team · · 6 min read
To see how big you can print an old photo, divide its width and height in pixels by 300. That gives the print size in inches at 300 ppi, the usual target for a print you hold in your hand. A file of 1500 × 2100 px comes out at 13 × 18 cm / 5 × 7 in.
To get the photo ready, repair it first, colorize it next if you want color, and enhance it last. Then order one small test print before you pay for the large one.
How many pixels each print size needs
| Print size | Pixels at 300 ppi | Typical use |
|---|---|---|
| 10 × 15 cm / 4 × 6 in | 1200 × 1800 px | Album page, small frame |
| 13 × 18 cm / 5 × 7 in | 1500 × 2100 px | Desk or shelf frame |
| 20 × 25 cm / 8 × 10 in | 2400 × 3000 px | Portrait for a shelf or wall |
| 30 × 40 cm / 12 × 16 in | 3600 × 4800 px | Large wall print |
The arithmetic is inches times 300. Going the other way, pixels divided by 300 gives inches, and inches times 2.54 gives centimeters.
The same sums explain scanning. A 300 dpi scan of a 10 × 15 cm / 4 × 6 in print gives 1200 × 1800 px, enough to print it at its own size. To print it twice as wide and tall, at 20 × 30 cm / 8 × 12 in, scan at 600 dpi. The Library of Congress calls 300 dpi a good starting point and notes that higher resolution on a print mostly shows defects, so go higher only when you really plan to enlarge.
How to read your file's pixel size
- Look for width and height in pixels. A computer shows them in a file's properties or information panel, and any image editor shows them too.
- Ignore megabytes. File size depends on compression, so it tells you little about how large you can print.
- Check the copy you will actually send. A file that has been through a chat app is often much smaller than the one you started with.
- Read the result, not the promise. Some enhancers add pixels and some only improve the ones already there. After any enhancing step, read the new file's size and compare that with the table.
- Check the shape as well. These sizes have different proportions, and a square snapshot fits none of them. Decide whether to crop or leave a border. Restore does not crop by design, so that choice stays with you.
Viewing distance forgives some softness
The 300 ppi target is for something you hold at reading distance. A large print on a wall gets looked at from further away, so it can get by with fewer pixels per inch. To find what you would really have, divide your file's pixel width by the print's width in inches.
Say you have a file of 2400 × 3200 px and want a 30 × 40 cm / 12 × 16 in print. That works out at 200 ppi. Up close you may see softness in the faces. From across a room, you may not. There is no fixed rule. The test below settles it for your photo.
See what repair and HD Enhance do with your scan before you order a print.Try Photold
The right order: repair, colorize, enhance last
Each step works from the result of the one before, so the order matters. Here is how it goes in Photold, and the logic applies to any tool.
- Repair. Use Restore, or Remove Scratches if you want to keep the grain and add no sharpening. Clean first, because sharpening makes scratches and stains harder to hide.
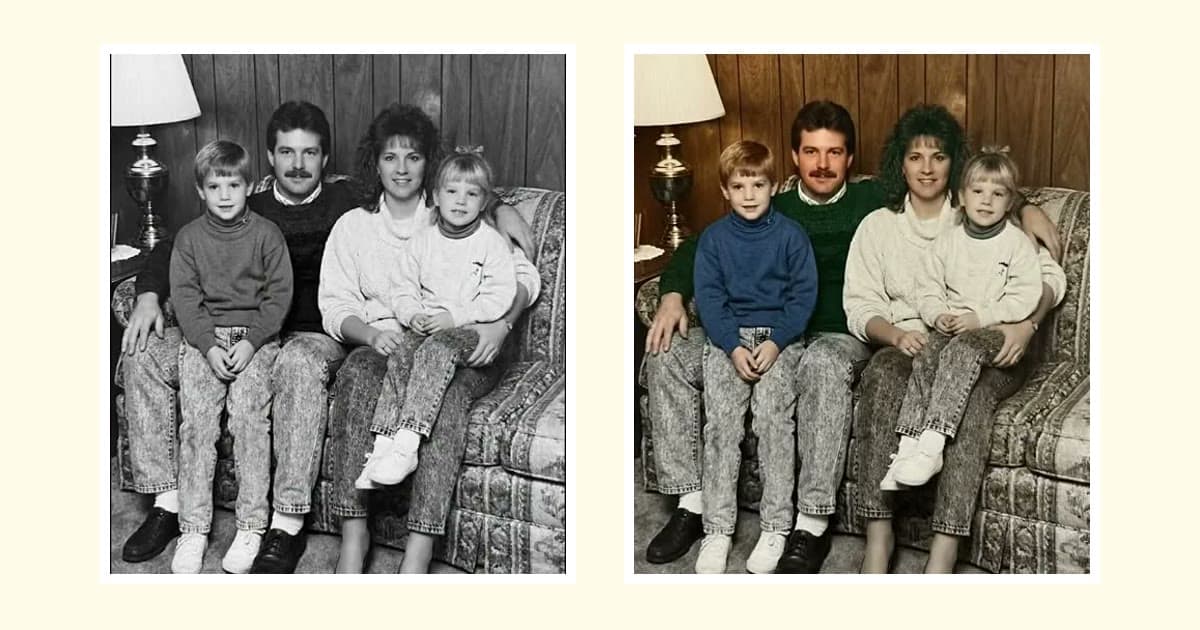
- Colorize, if you want color. It is a separate step, and its colors are plausible rather than a record. Keep the black-and-white version as well.
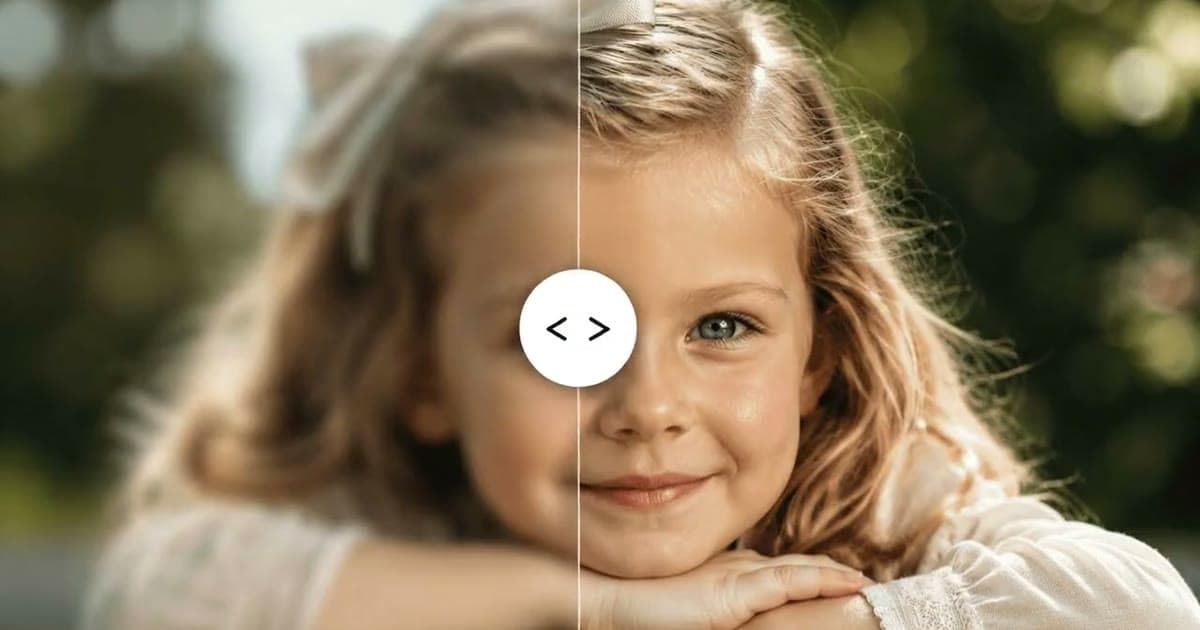
- Enhance last. HD Enhance gives sharper detail, gentle denoising and better local contrast. Run it once. If the photo is badly soft, read how to fix blurry old photos first, since a better scan may help more.
- Save each version with a descriptive name: the untouched scan, the repair, and the final file for printing.
- Crop last, to the shape of the print, once you know the size.
Order one small test print before the expensive one
A screen glows and paper does not, so a photo often prints darker than it looked. Two kinds of small test tell you different things.
- The whole picture. Print the whole photo at 10 × 15 cm / 4 × 6 in. This checks tone, color and crop.
- A crop at full scale. This shows how sharp the big print will look. In the example above, the final print has 200 ppi. Crop an area of 800 × 1200 px around a face and print it at 10 × 15 cm / 4 × 6 in: that is also 200 ppi, so the face appears at the same size and sharpness it will have on the wall.
- Same shop, same paper. Order the test from the shop that will make the final print, since paper and machines differ.
- Judge it from a real distance, as far back as you would stand in that room.
If this print is a present, restored photo gift ideas has advice on how much time to leave for all this.
If your file is too small
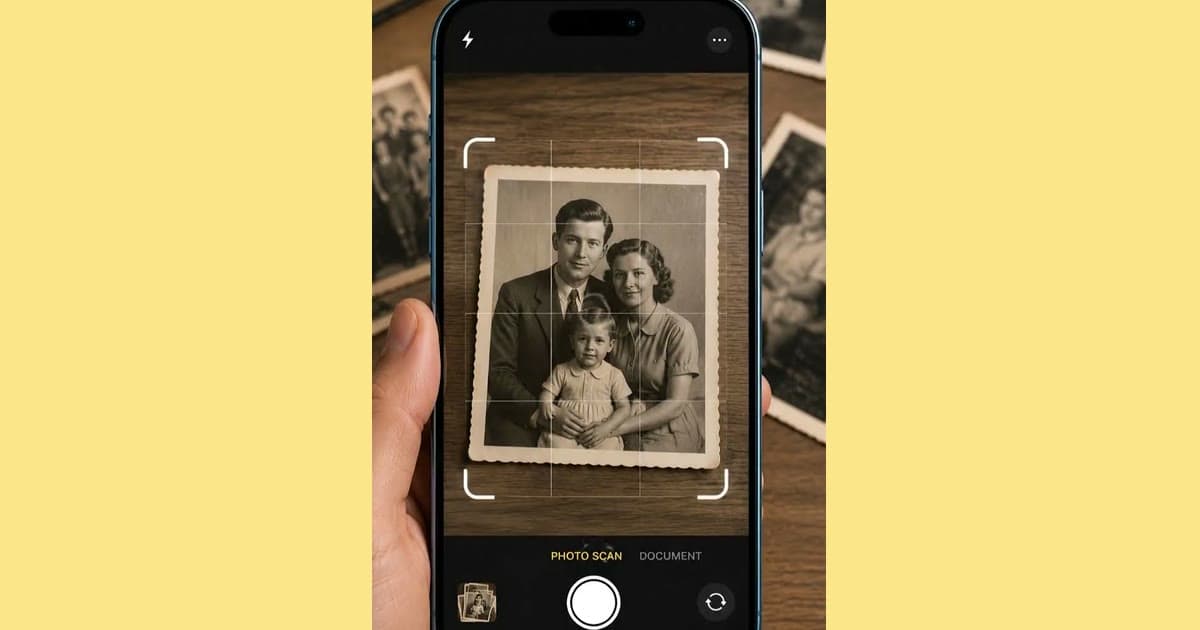
- Go back to the print. Rescan it at a higher setting if it is small, or take a better copy using our guide to scanning old photos with your phone.
- Ask for a better source. A relative may hold the print of a photo you only have as a small file.
- Print one size down, and use a wide mat. A 20 × 25 cm / 8 × 10 in frame can hold a 13 × 18 cm / 5 × 7 in print with a mat around it, and it still looks substantial on a wall.
Frequently asked questions
What resolution do I need to print an old photo?
The usual target is 300 ppi for a print seen up close. That means 1200 × 1800 px for 10 × 15 cm / 4 × 6 in, and 2400 × 3000 px for 20 × 25 cm / 8 × 10 in.
How big can I print a 1200 × 1800 pixel photo?
At 300 ppi, 10 × 15 cm / 4 × 6 in. At 200 ppi, about 15 × 23 cm / 6 × 9 in, which may look fine from a little further back, so test a crop first.
Is ppi the same as dpi?
Strictly, ppi describes the pixels in a file and dpi the dots from a printer, though scanners and print shops often use dpi for both. For the sums in this guide, you can use 300 for either.
Does enhancing make a photo big enough to print?
Not by itself. Check the pixel size of the enhanced file against your print size. AI adds plausible detail rather than recovering it, so a better scan often helps more.